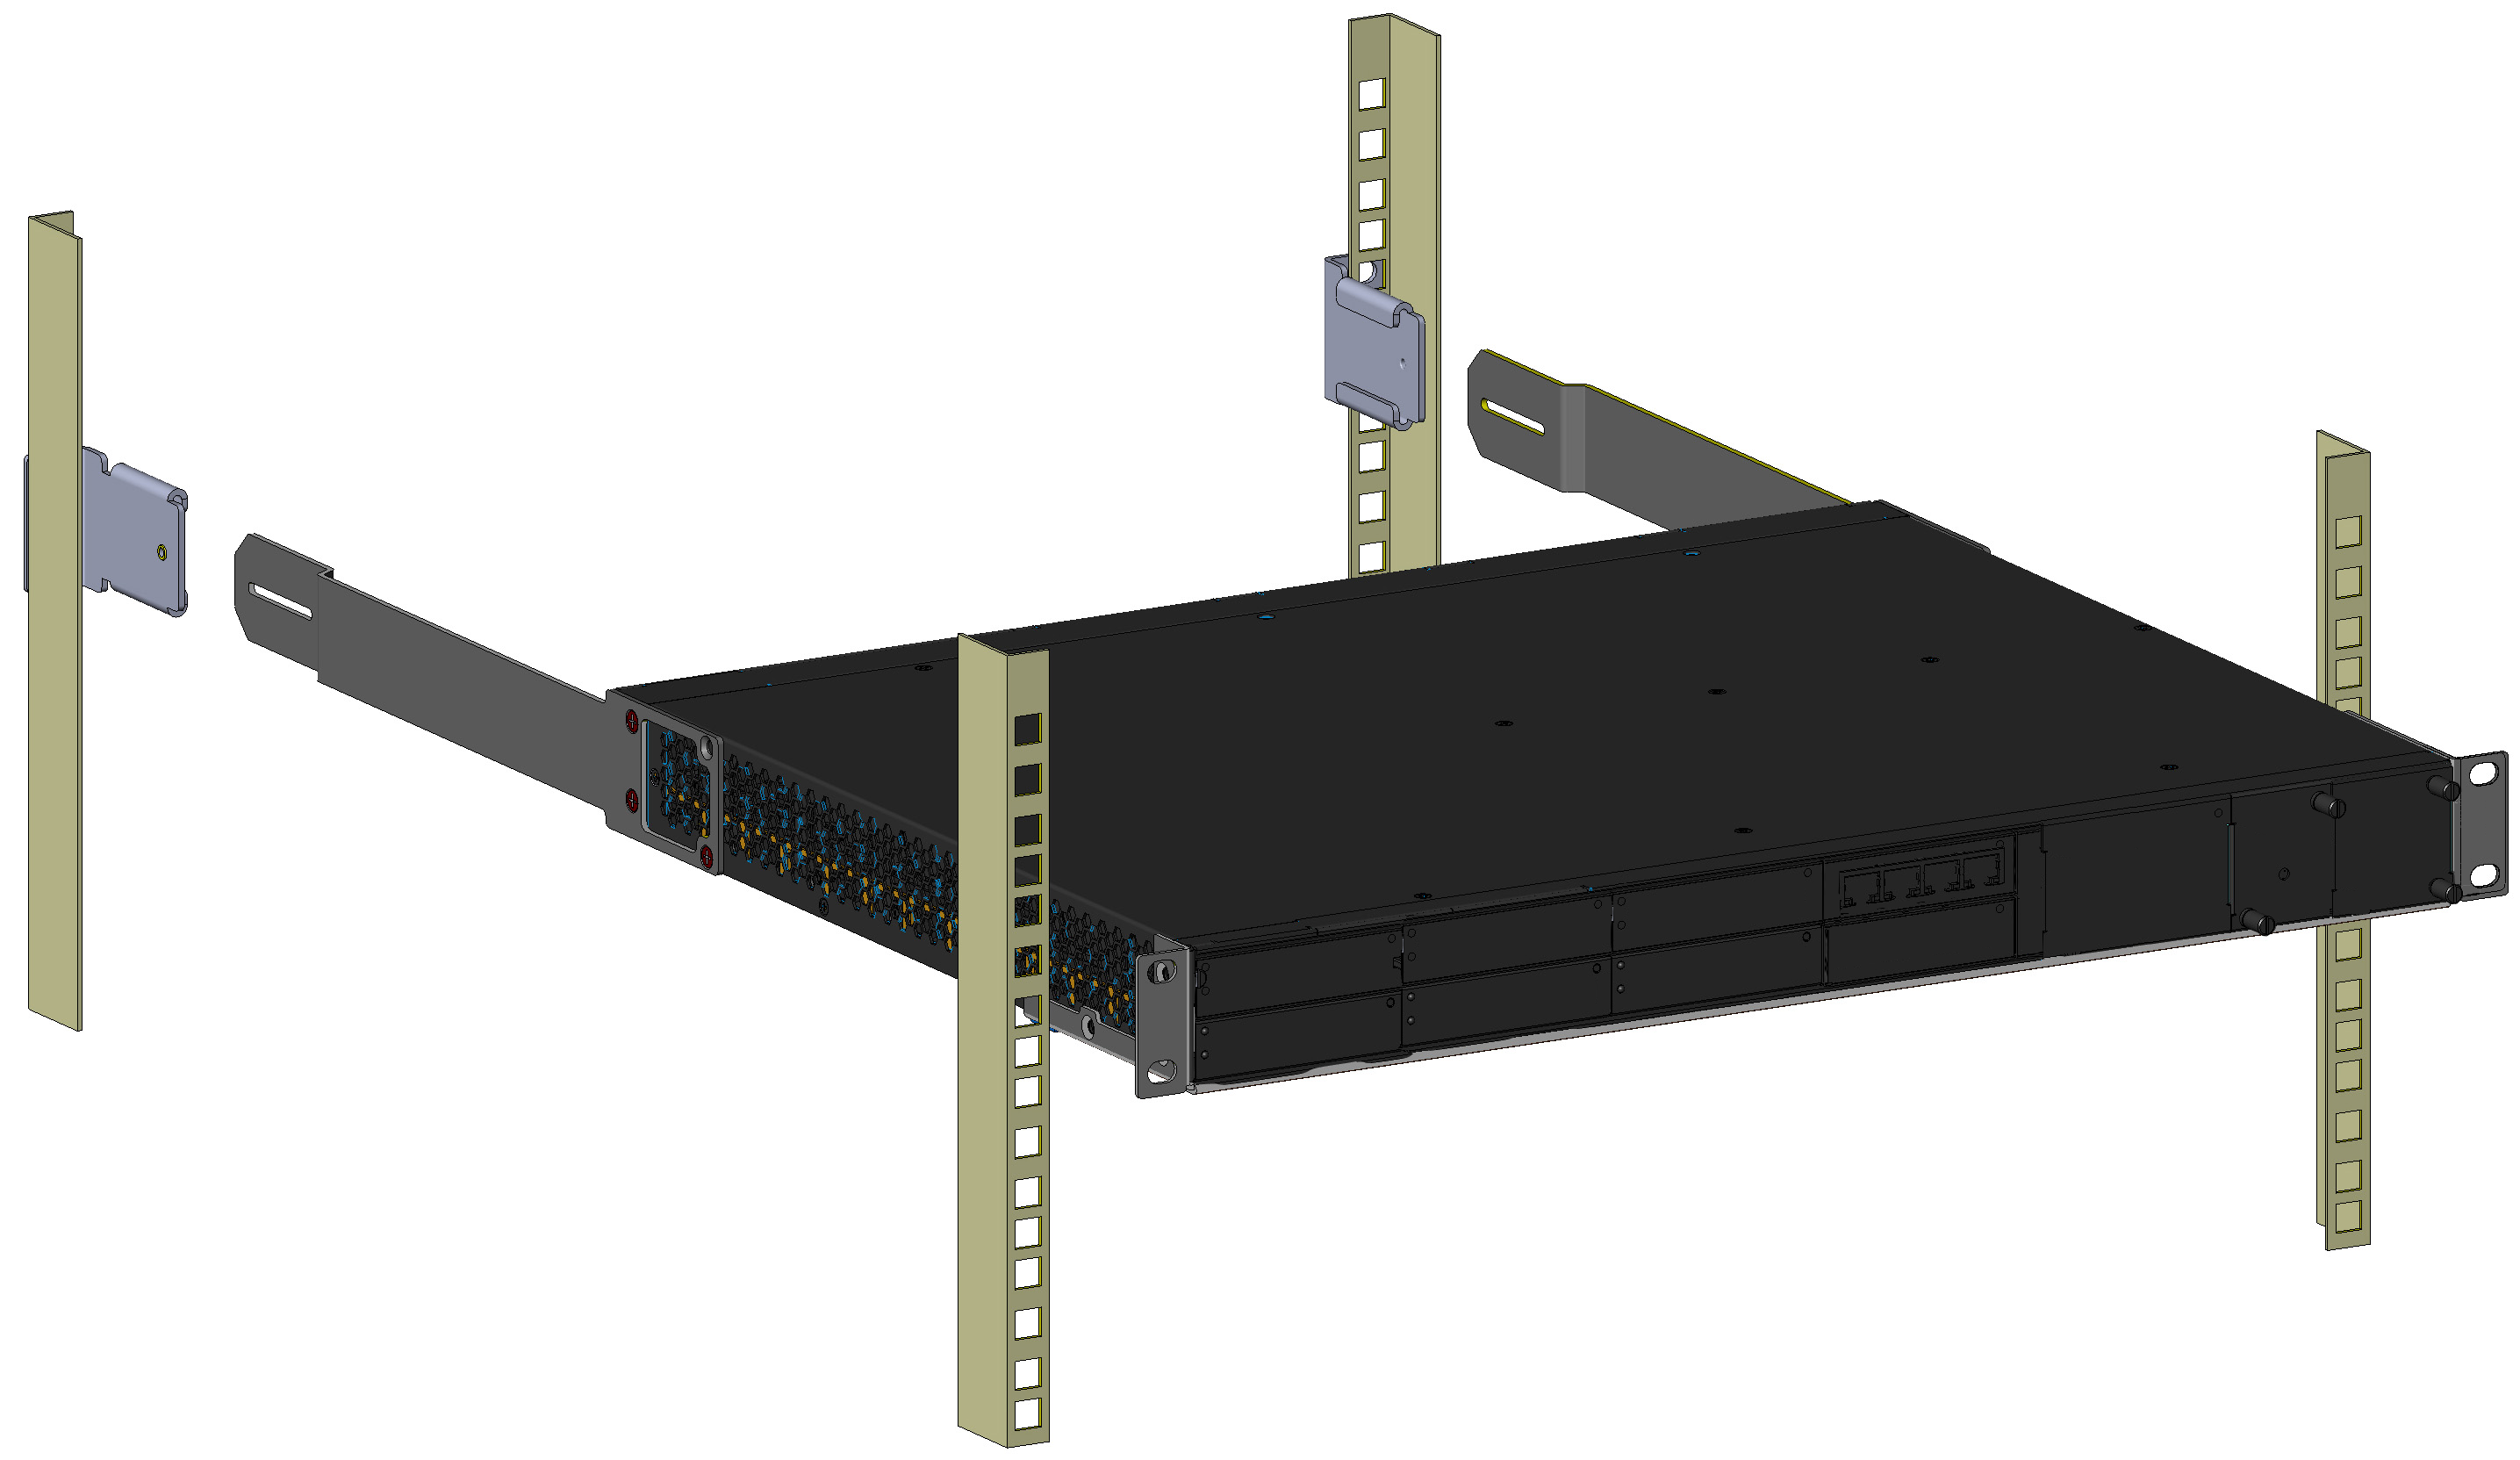
Mounting in a 19-inch Rack using Front and Rear Mounting Brackets
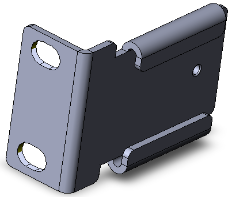
The device can also be mounted in a 19-inch rack, using optional, rear-mounting brackets, in addition to the front-mounting brackets. The rear-mounting brackets provide extra weight support for the chassis. The rear-rack mounting brackets attach the rear of the chassis to the two rear-mounting posts.
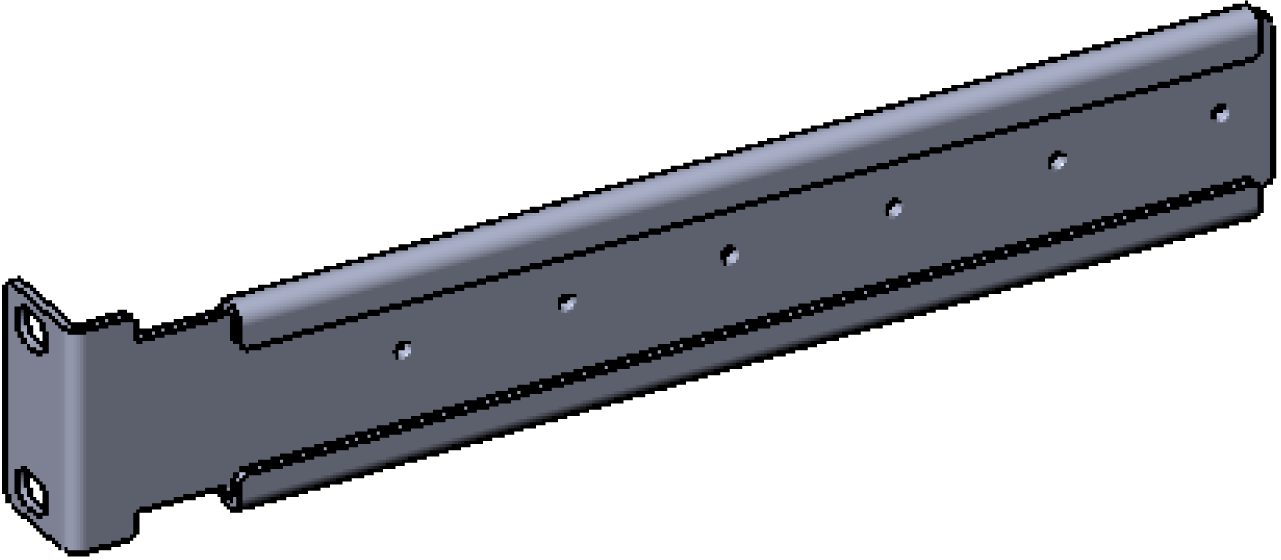
Depending on the depth of the rack in which you are installing the device, you can order one of the following rear-mounting brackets, which differ in length, from AudioCodes as a Rear-Rack Mounting Bracket Kit accessory item (separate orderable item):
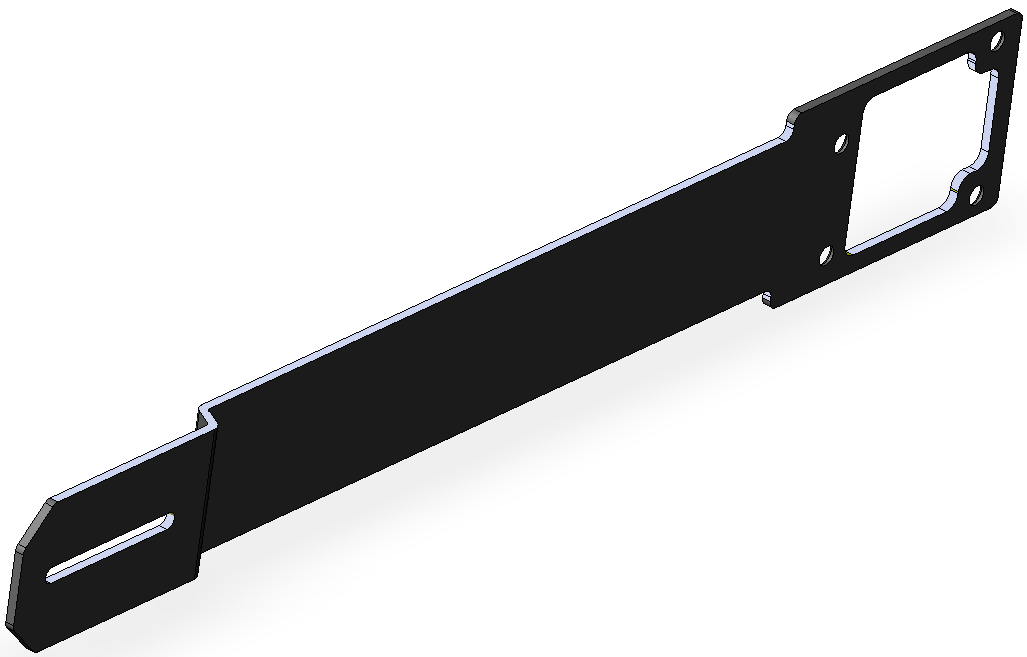
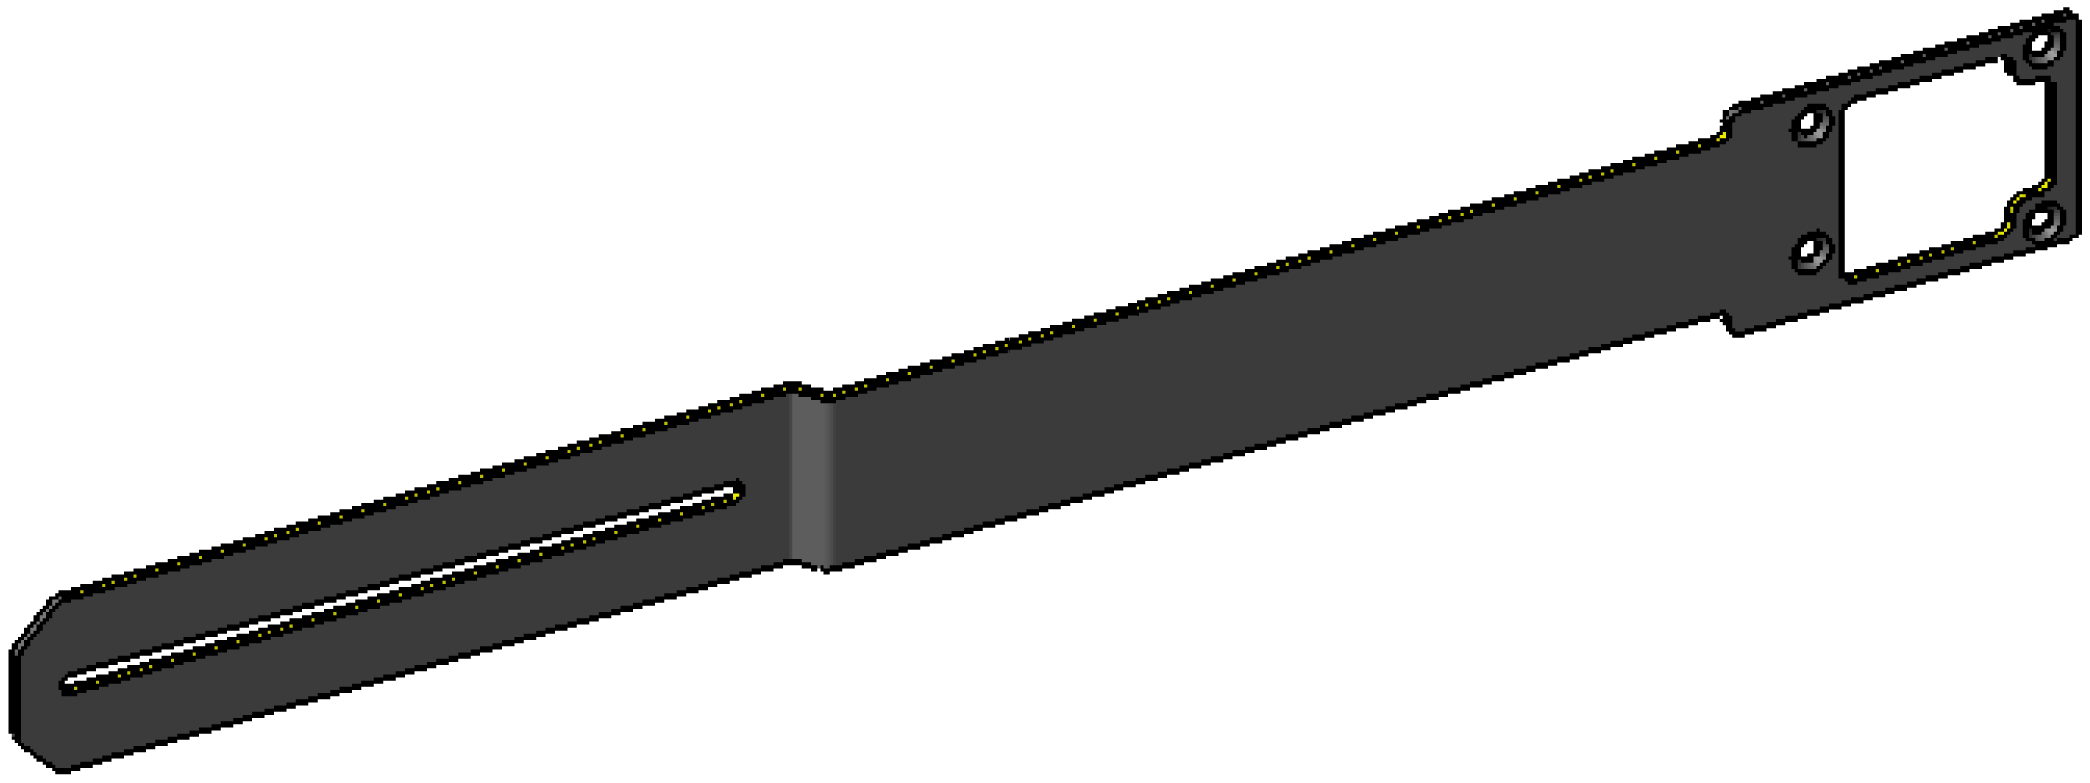
| ■ | Adjustable rear-mounting bracket from 59.3 to 62.7 cm (23.3 to 25 in.). The length of the rear-mounting brackets can be adjusted from 593 to 627 mm, to suit the distance between the chassis and the rear post. The customer part number (CPN) of this kit is M1KB-REAR-RMK-60. |
|
Rear-Mounting Bracket x 2 |
Rear-Mounting Flange x 2 |
|---|---|
|
|
|
 x 2
x 2 x 6
x 6| ■ | Fixed-length rear-mounting bracket of 80 cm (31.5 in.) The CPN of this kit is M1KB-REAR-RMK-80. |
|
Rear-Mounting Bracket x 2 |
Rear-Mounting Flange x 2 |
|---|---|
|
|
|
 x 6
x 6| ● | At least two people are required to mount the device in the 19-inch rack. |
| ● | When attaching the device to the rack using the rear-mounting brackets, it is mandatory to also attach the front-mounting brackets. |
| ● | To allow extraction and insertion of modules on the rear panel, make sure that the distance between the rear panel and the rear rack posts is at least 580 mm. Thus, card extraction can be done without disassembling the rear-mounting brackets. |
(French) Avertissements:
| ● | Au moins deux personnes sont nécessaires pour monter l’appareil dans le bâti 19 pouces. |
| ● | En fixant l’appareil au bâti en utilisant des supports de montage arrière, il est impératif de fixer également les supports de montage avant. |
| ● | Pour permettre l’extraction et l’insertion des modules sur le panneau arrière, assurez-vous que la distance entre le panneau arrière et les montants arrière du bâti soit d’au moins 580 mm. Ainsi, l’extraction de la carte pourra être effectuée sans démonter les supports de montage arrière. |
| ➢ | To mount the device in a 19-inch rack with front- and rear-mounting brackets: |
| 1. | Open the Rear Mounting Bracket kit and remove its contents. Make sure that all the items are included in the kit (see above). |
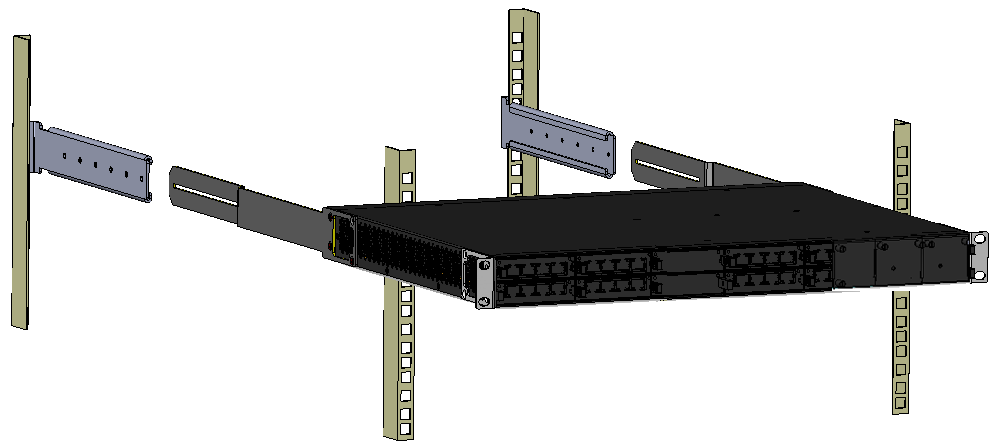
| 2. | Attach the two rear-mounting brackets to the two-rear rack posts, using two screws (not supplied) per bracket. Make sure that you attach the brackets at the same height level in the rack. See the following figure for correct orientation of the brackets when attaching them to the posts. |
Rear-Mounting Brackets Attached to Rear-Rack Posts (60 cm)
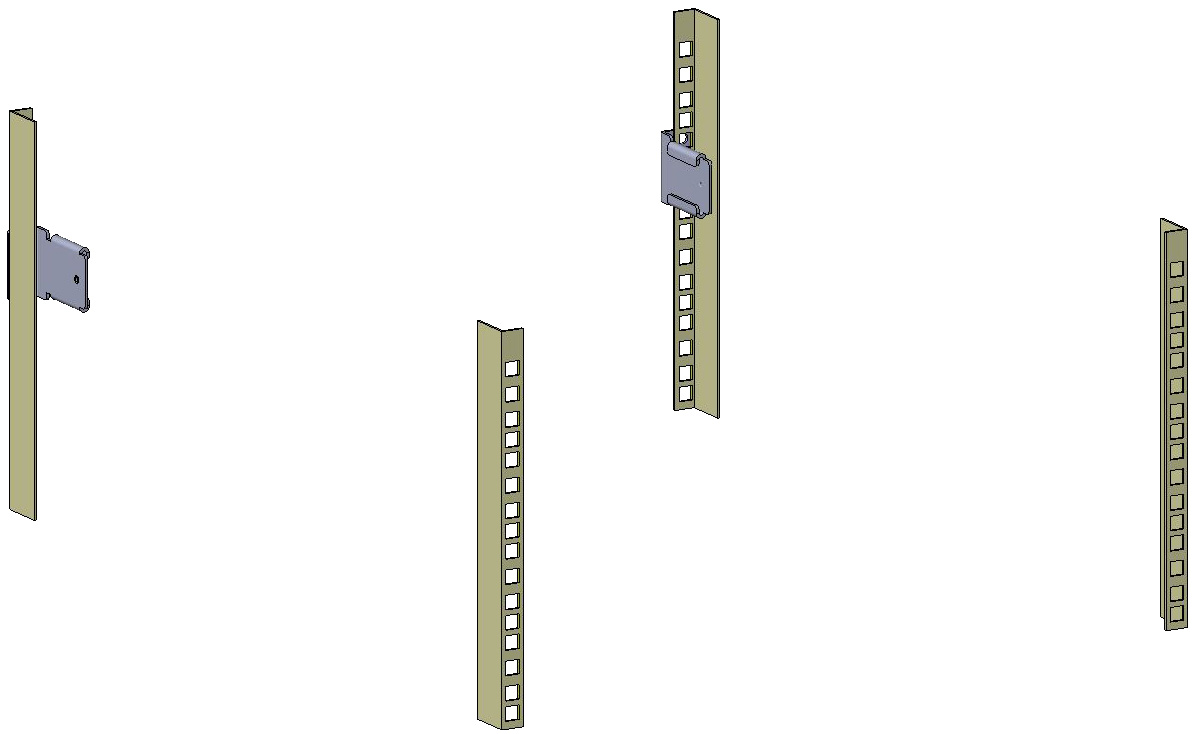
Rear-Mounting Brackets Attached to Rear-Rack Posts (80 cm)

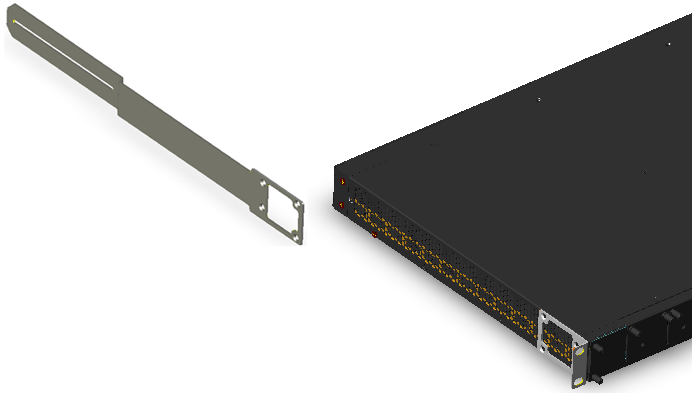
| 3. | Attach the rear-mounting flanges to the rear sides of the chassis, using three screws (supplied) per flange. |
Attaching Rear-Mounting Flange to Chassis' Rear-Side Mounting Holes (60 cm)
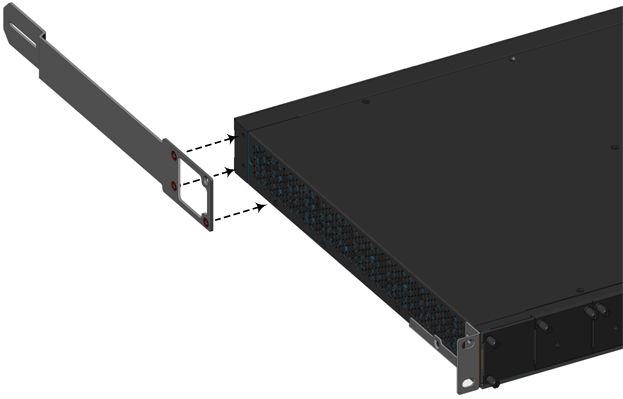
Attaching Rear-Mounting Flange to Chassis' Rear-Side Mounting Holes (80 cm)
| 4. | With two people, lift the chassis into the rack from the front of the rack. |
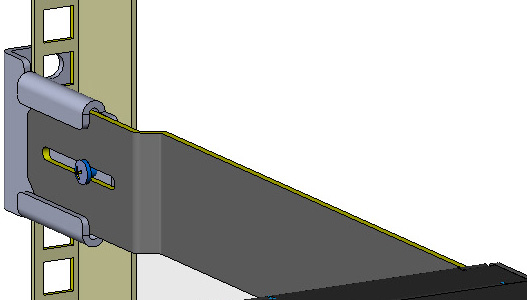
| 5. | Slide the two rear-mounting bracket flanges into the slide rails of the rear-mounting brackets that you previously attached to the rear posts. |
Sliding the Rear-Mounting Flanges into the Rear-Mounting brackets (60 cm)
Sliding the Rear-Mounting Flanges into the Rear-Mounting Brackets (80 cm)
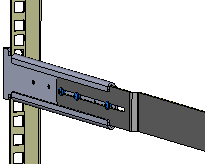
| 6. | Hold the chassis in position while the second person secures the rear-mounting flanges to the rear-mounting brackets. Insert the supplied screws (6-32 x 5/16 inch) from the inside of the rack, through the flange's grid and into the screw hole on the rear-mounting bracket. Finger-tighten the screws but make sure that the screws are NOT fully tightened and that the flange can freely move on the slide rails of the rear-mounting bracket. |
Fastening Rear-Mounting Flange to Rear-Mounting Bracket (60 cm)
Fastening Rear-Mounting Flange to Rear-Mounting Bracket (80 cm)
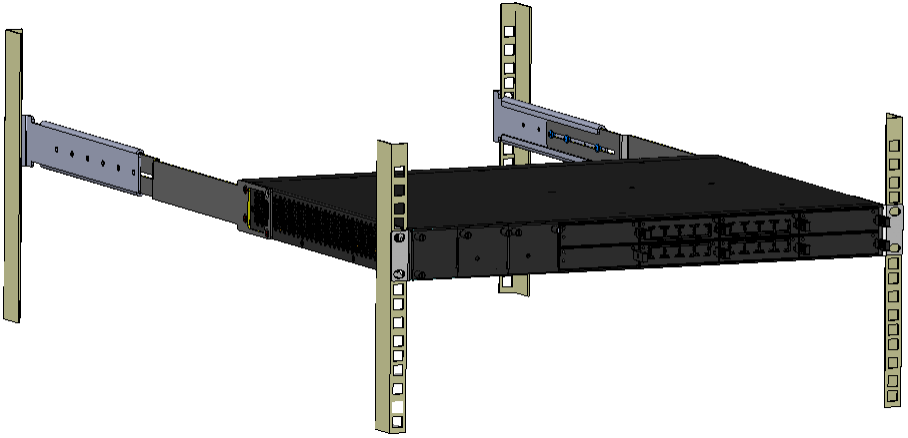
| 7. | Hold the chassis for support while the second person positions the chassis so that the front-mounting brackets are flush against the front-rack posts and that the holes of the front-mounting brackets align with the holes on the front-rack posts. |
Front-Mounting Brackets Flush and Aligned with Front Rack Posts (60 cm)

Front-Mounting Brackets Flush and Aligned with Front Rack Posts (80 cm)
| 8. | Hold the chassis in position while the second person secures the two front-mounting brackets to the front posts, by finger-tightening 19-inch rack bolts (not supplied) to the rack posts. |
| 9. | Tighten the bolts on the front-mounting brackets. |
| 10. | With a Philips screwdriver, tighten the screws securing the rear-mounting flanges to the rear-mounting brackets. |
| ● | Make sure that all the mounting brackets are attached at the same level to the mounting posts so that the chassis is supported in a horizontal position. |
| ● | If the depth of the rack exceeds the maximum length of the adjustable rear-mounting brackets, install an additional side rack post to accommodate the length of the Rear-Mounting Bracket. |